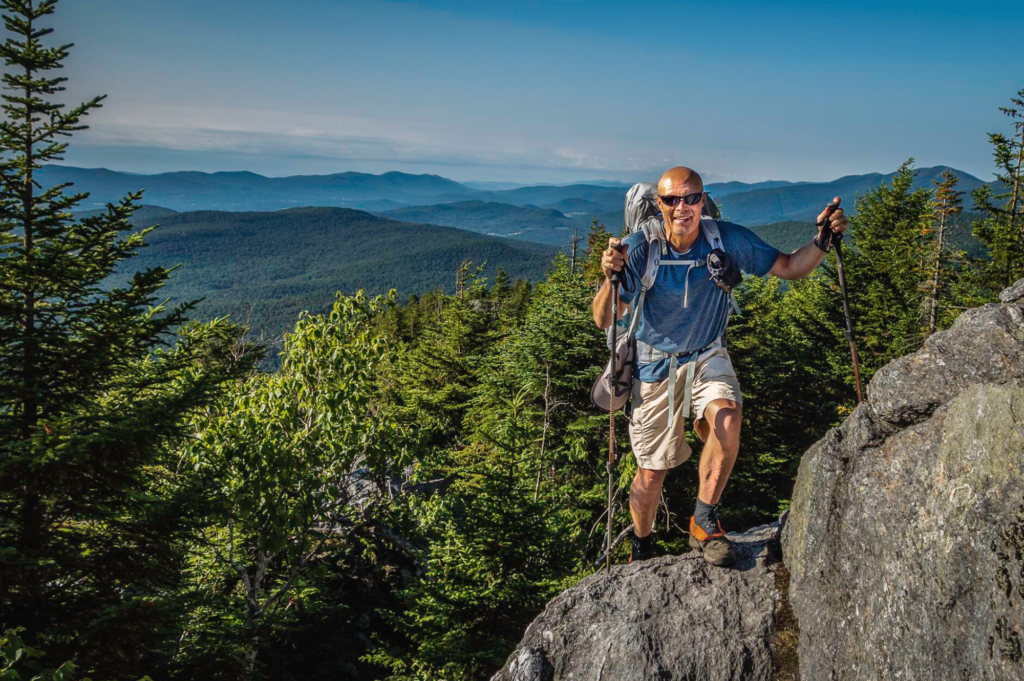
You did it! You submitted that Vermont peak. Whether you hiked by yourself or with a tight-knit group, you now want to capture the moment.
We’ve all been in the position of asking a stranger to take our photo. It’s risky to rely on that person’s photography skills — or lack thereof — for a share-worthy photo. And while we can’t guarantee you a great shot, we can give you tips for helping your fellow trail users memorialize the moment. Here’s what you need to know to take an awesome summit photo:
It’s all about lighting.
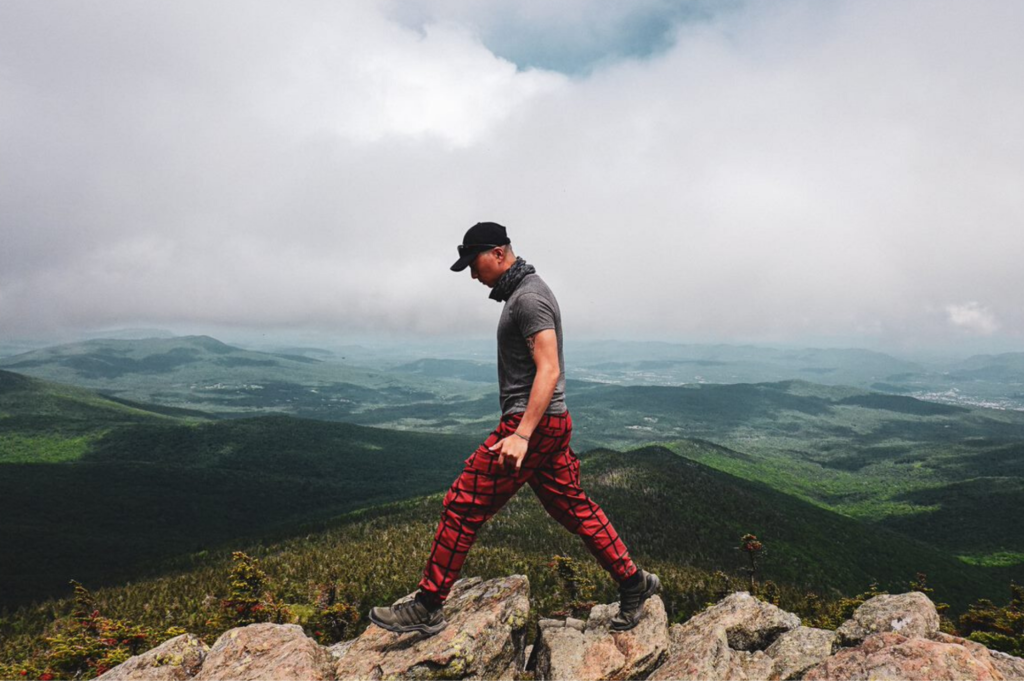
Sunny days may seem like the best days to pull out the camera, but harsh overheard lighting can be tricky to work with. The best lighting is on cloudy days, in the early morning, or in the evening. If you can, avoid taking photos when the sun is at its highest point in the sky.
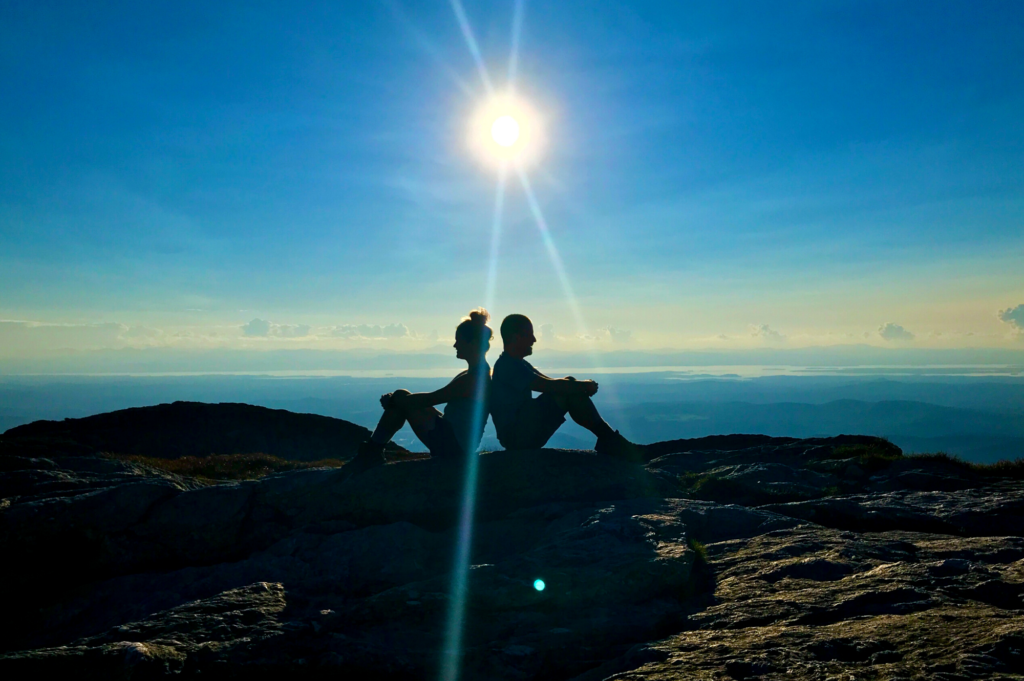
Position the sun in front of, or to the side of, your subject. Positioning the sun directly behind the folks you’re photographing can “backlight” the subjects and make them appear dark.
Be Wary of Shadows
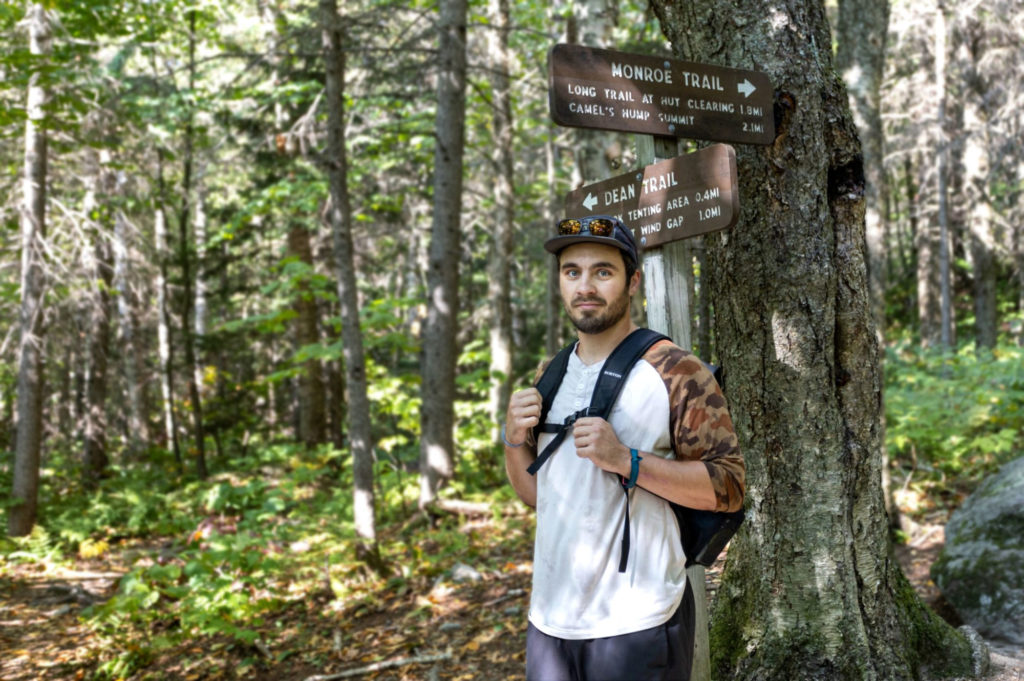
Look out for shadows cast by tree cover, clouds, firetowers, backpacks, cairns, and other people. Ask folks to remove hats, sunglasses, and masks (if appropriate) so their faces are clearly visible.
Be Mindful of Your Subject’s Head…
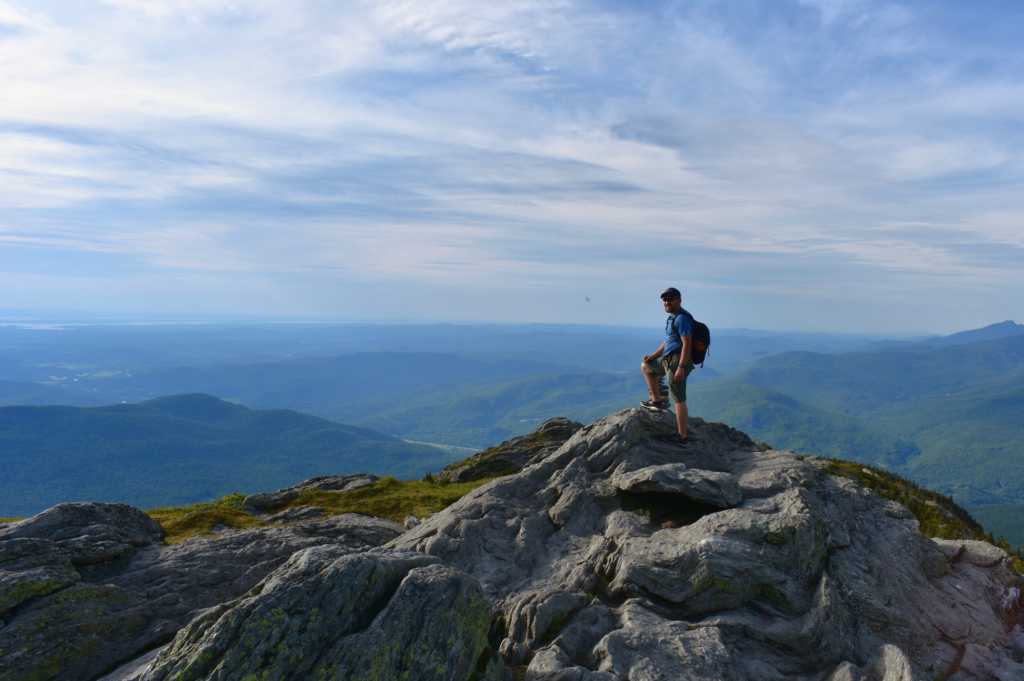
…and hands… and feet. You don’t want to lop off the top of anyone’s head. If the aim is to get the person(s) and surrounding landscape, make sure the whole of your subject is in the frame.
Additionally, make sure there are no people or distracting objects behind or around your subject. It’s sort of the worst when a background tree later looks like antlers spouting from the subject’s head. Alongside those stray branches, look out for power lines and photobombers.
Try a few Variations
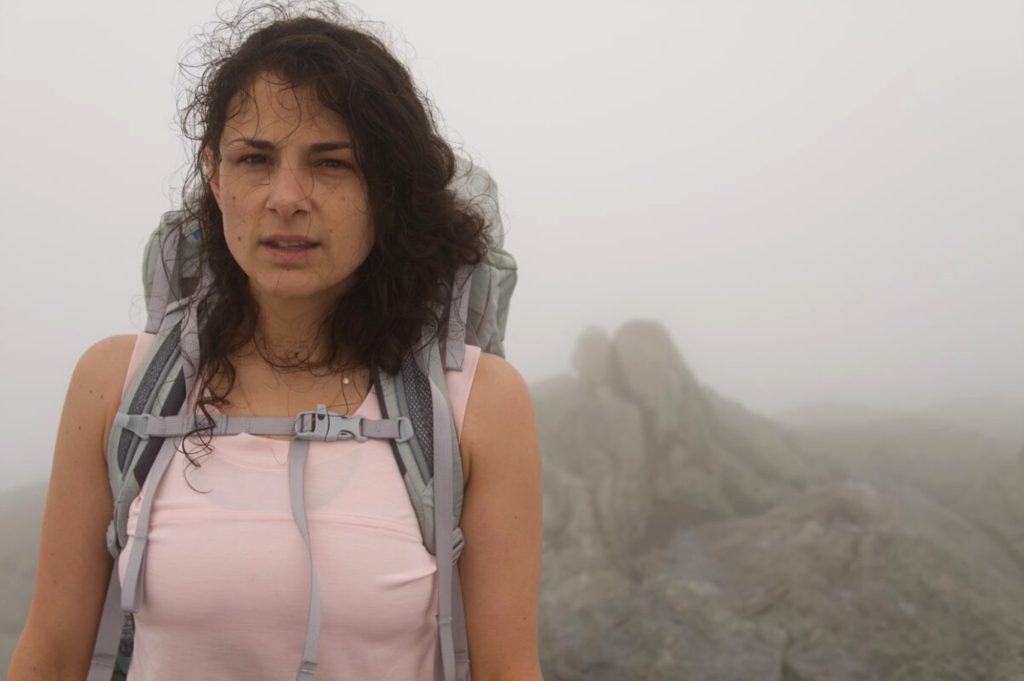
It’s great when someone takes plenty of photos, as long as the series isn’t a rapid-fire succession. Be purposeful instead of trigger-happy. Consider these variations:
- A horizontal vs. vertical photo orientation.
- A closer, detailed portrait vs. a wider, landscape shot.
- An action shot or candid vs. a posed photo.
- A funny face or pose vs. a smile.
Utilize the “Rule of Thirds”
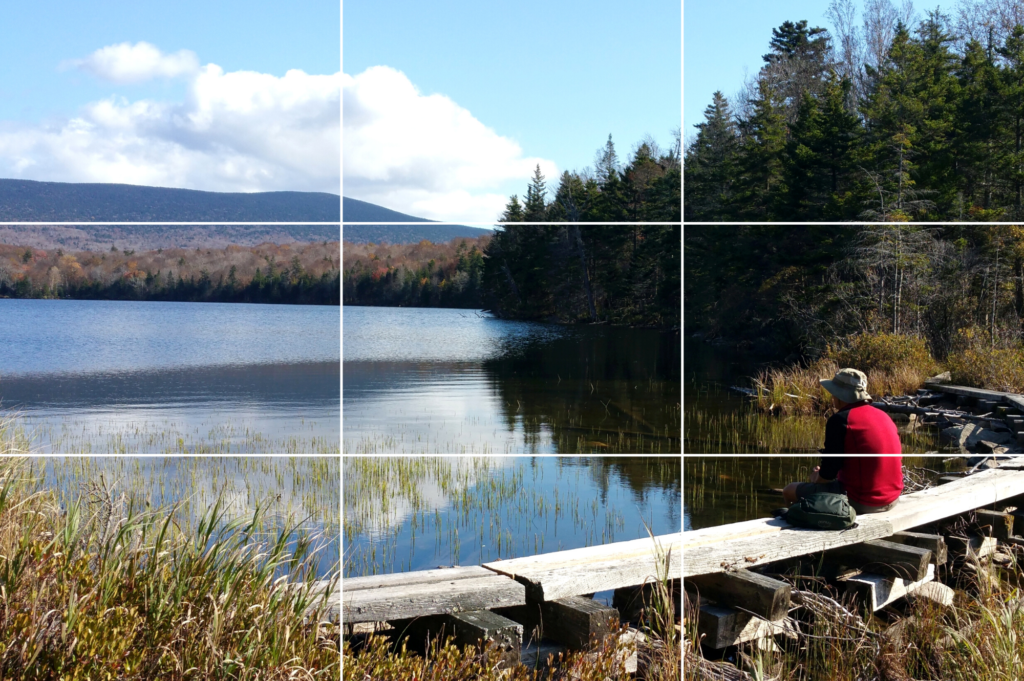
In photography, the “rule of thirds” means that if you divide your frame into thirds both horizontally and vertically and place key elements of the photo along the “third” lines or where they intersect, it will be more pleasing than a centered subject. This strategy doesn’t always apply, but it’s very effective, especially if you want to include more of the scene around the folks you’re photographing.
…and the Camera’s Focus Feature
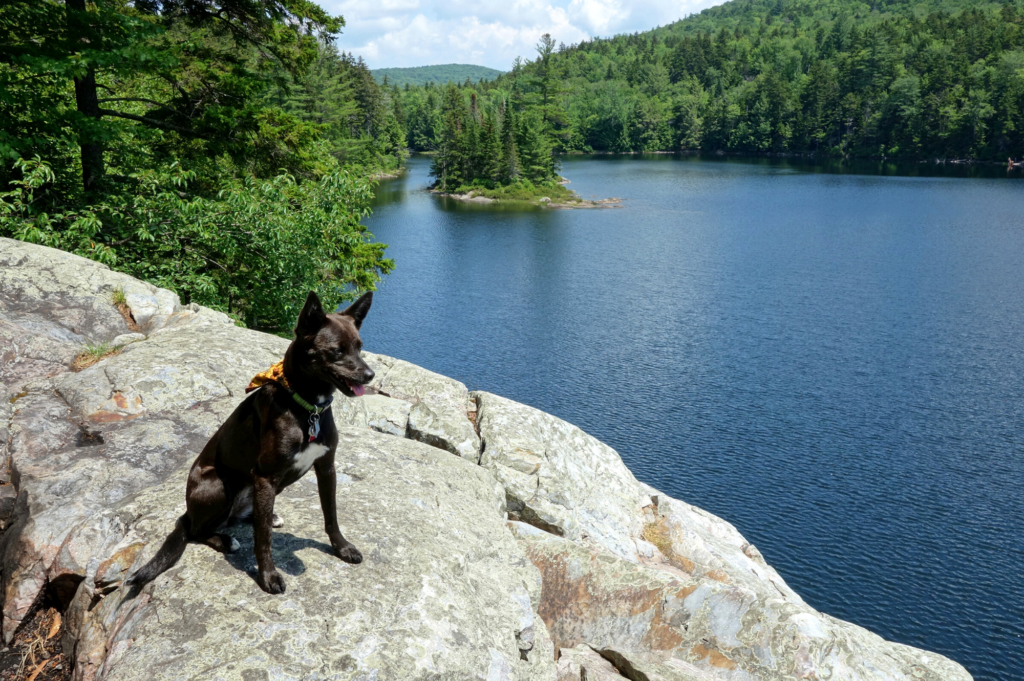
Most camera phones allow you to set the focus of the photo. Tap the screen to make sure faces are in focus, as opposed to a backpack or vegetation.
If it’s a group photo, make sure everyone’s looking in the same direction; we’re still fans of the “say cheese” prompt to focus their attention. And if your subject isn’t looking directly at the camera, like above, you want them to face toward the photo’s center, as opposed to looking out of the frame.
Have a Great Summit Photo? Share it.
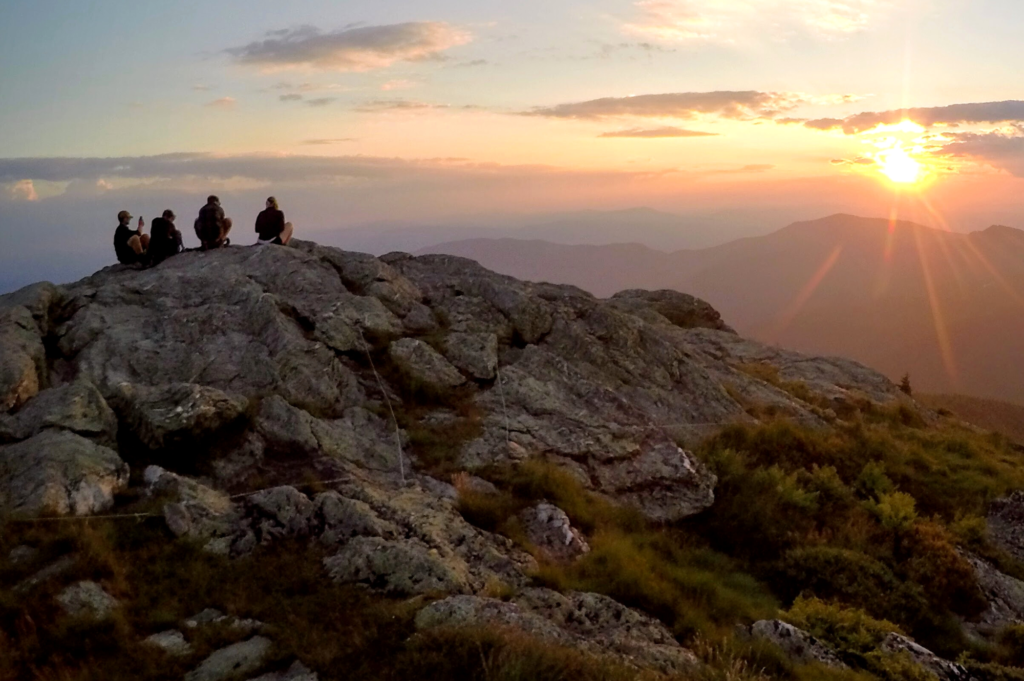
We love to see Vermont’s hiking community in action! Share your adventure photos with us, and you could be featured on our digital platforms and in our quarterly print publication, the Long Trail News. Email photos to [email protected] or tag us on Facebook and Instagram: @greenmountainclub.
#LongTrail #greenmountainclub #hikeVT
What are Your Tips for a Great Summit Photo?
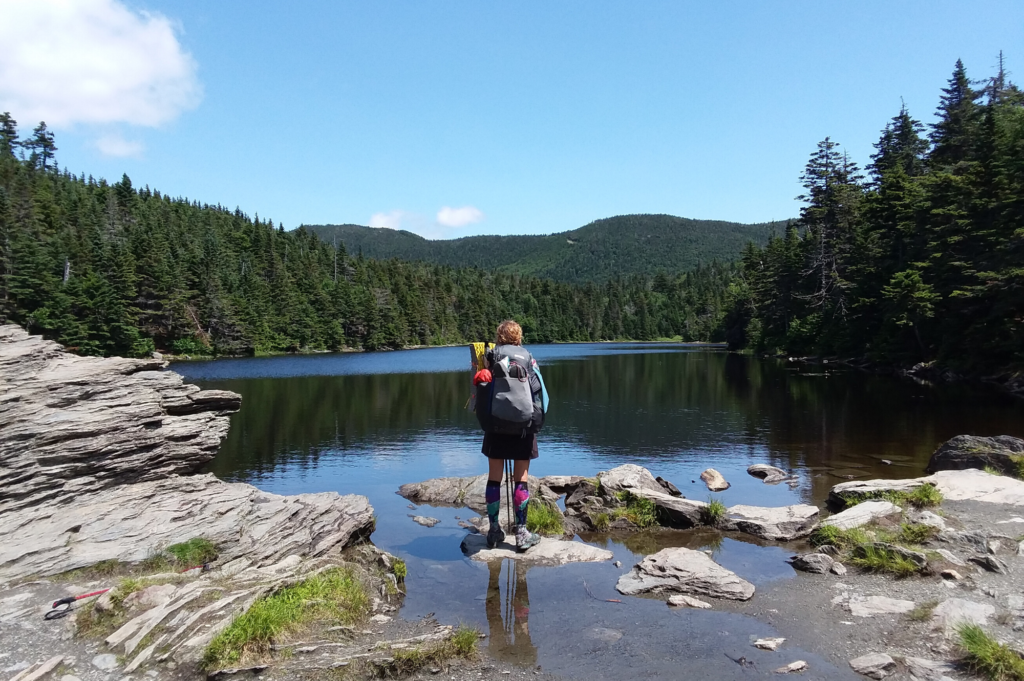
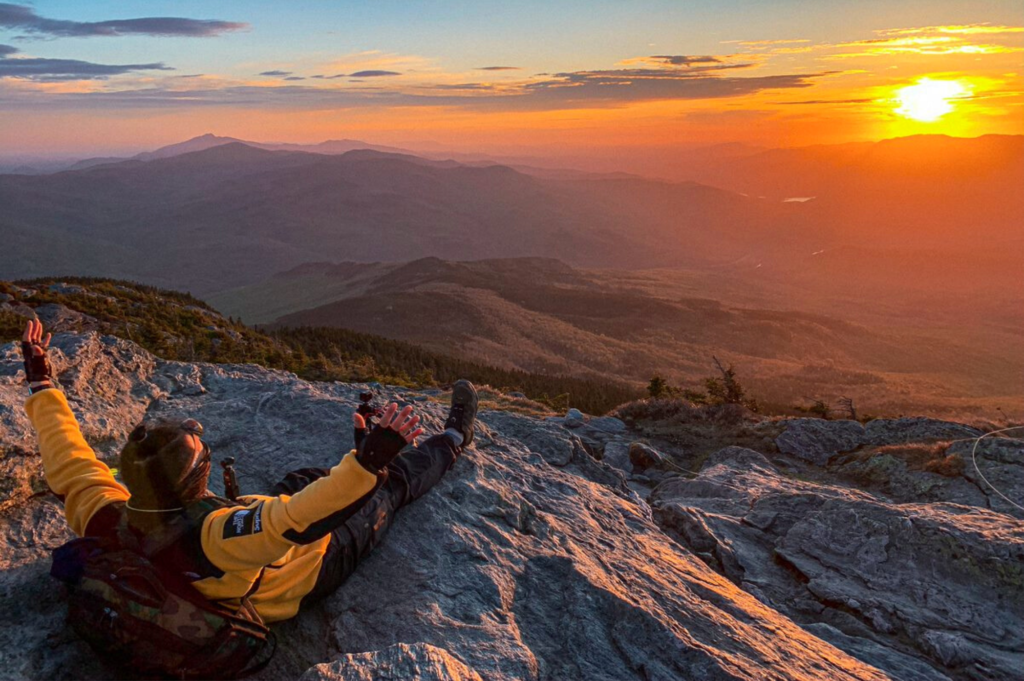
Of course, there are always exceptions to the above suggestions, like the following photos. (You have to know the rules to know when to break them.) Let us know what else we missed! Share your photography tips in the comments.


Leave a Reply